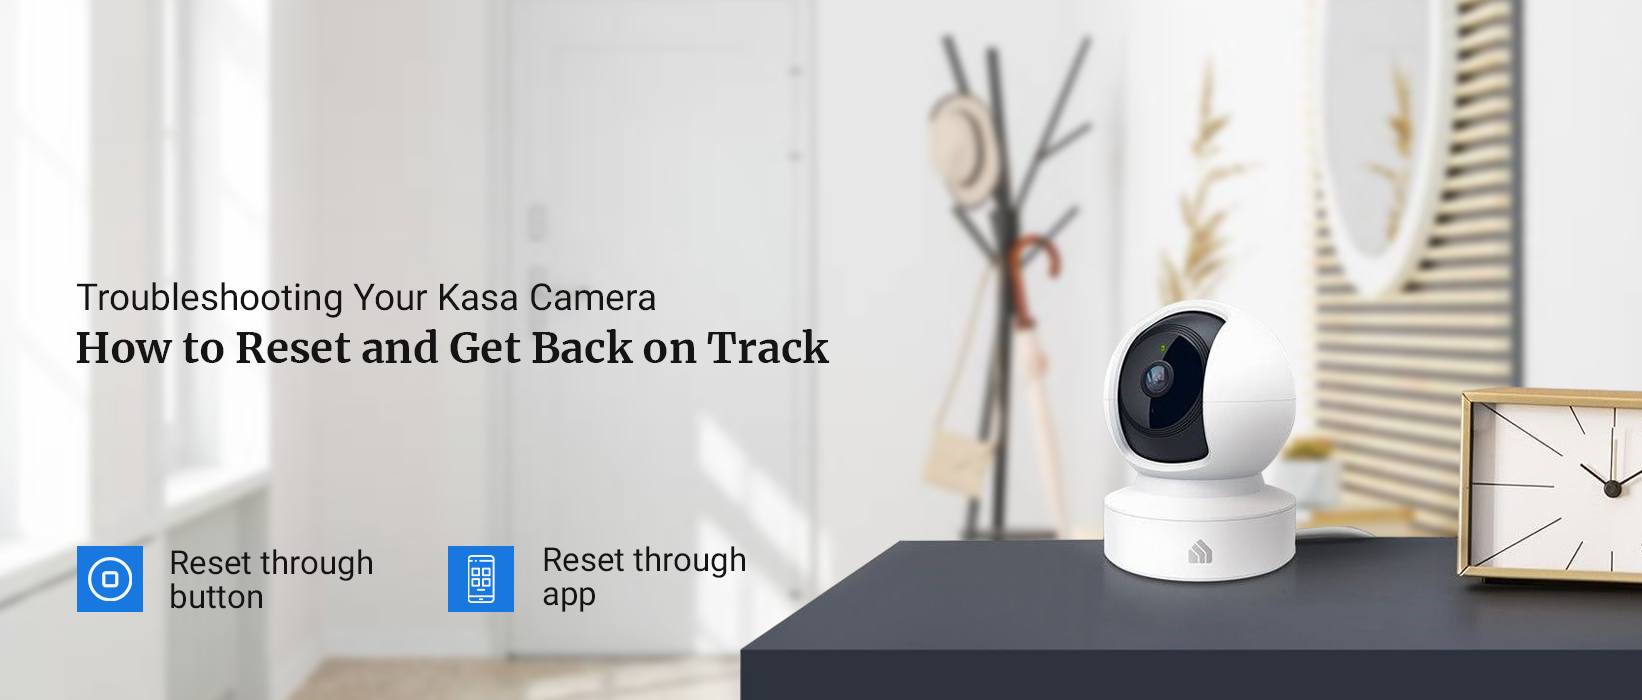
The Kasa camera is an excellent camera with a top-quality video resolution. This camera offers a variety of features to enhance the camera’s security. To get the best out of the Kasa camera, you must know how to connect Kasa camera to WiFi. The camera requires a proper WiFi connection to function effectively. Without a proper WiFi connection, the camera will not function at all. That’s why it’s crucial to connect the camera to a proper WiFi network. The procedure for connecting the camera to the WiFi is simple.
If you want to know how to connect Kasa camera to WiFi, we’ve got you. This blog will cover the complete procedure to connect the camera to the WiFi. You can easily connect the camera to the WiFi by following the correct instructions. We’ll also discuss the issues you could face during connecting the camera to the WiFi. Then, we’ll discuss the methods you can use to fix the issues with the Kasa camera.
Necessities For Connecting the Kasa Camera to the WiFi
To connect the Kasa camera to the WiFi, you require some things. With the help of these things, you can form a connection effortlessly. The requirements for this are as follows:
The Kasa app
A Kasa account
An active Internet connection
The WiFi password
These are some things you must have to connect the camera to the WiFi. Further, we will discuss the process for establishing a connection.
Steps to Connect Kasa Camera to WiFi
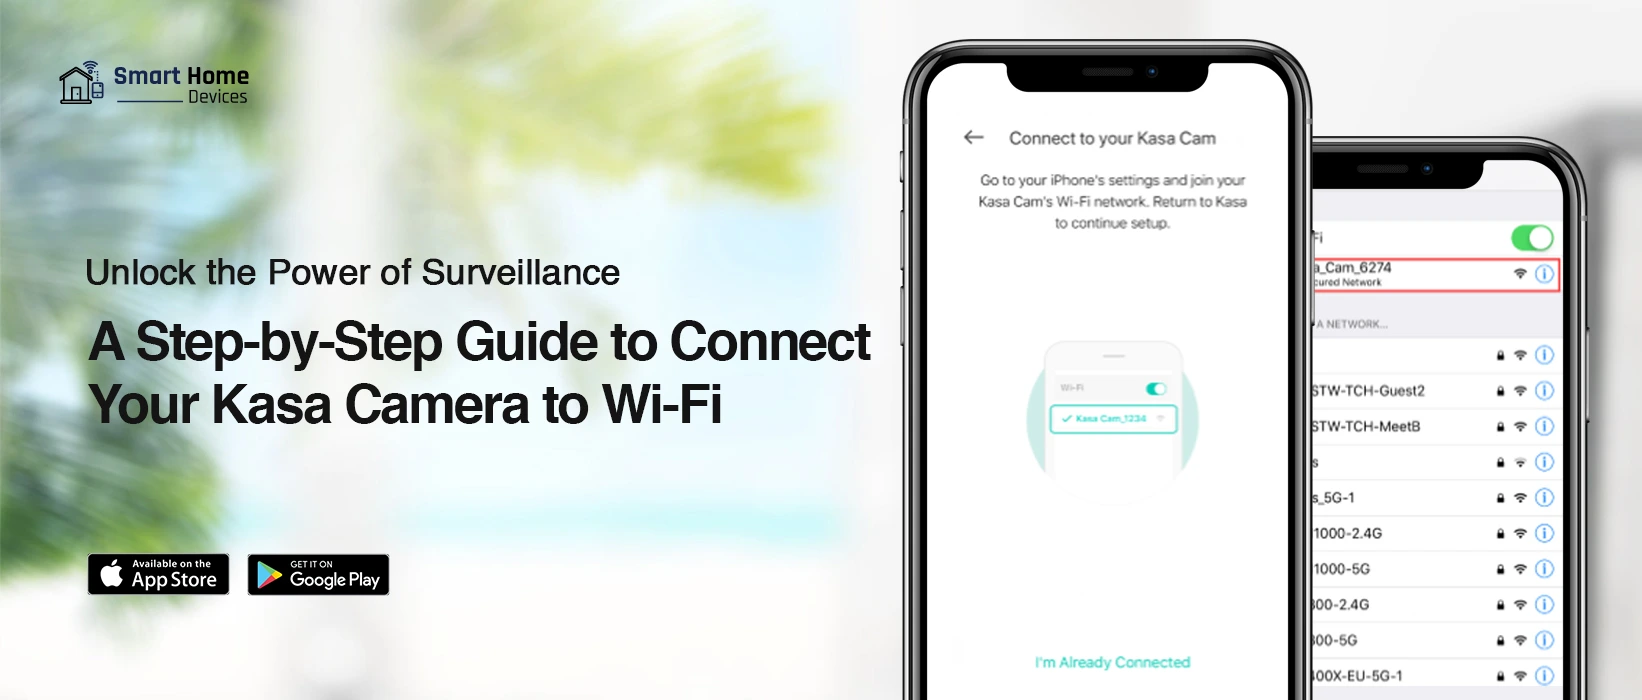
In this section, we’ll explore how to connect Kasa camera to WiFi. You can connect the camera to the WiFi correctly. All you need to do is install the Kasa app on your smartphone. Through the app, you can set it up and configure the settings correctly. The steps to connect the camera to the WiFi are as follows:
To begin with, download the Kasa app on your smartphone.
Now, open the Kasa app and log into your account.
If you don’t have an account, you can create one from the app.
Hereon, add the camera to the app, by clicking the (+) icon.
Ensure to select the correct model of the camera to add it to the app.
Follow the instructions and power on the camera accordingly.
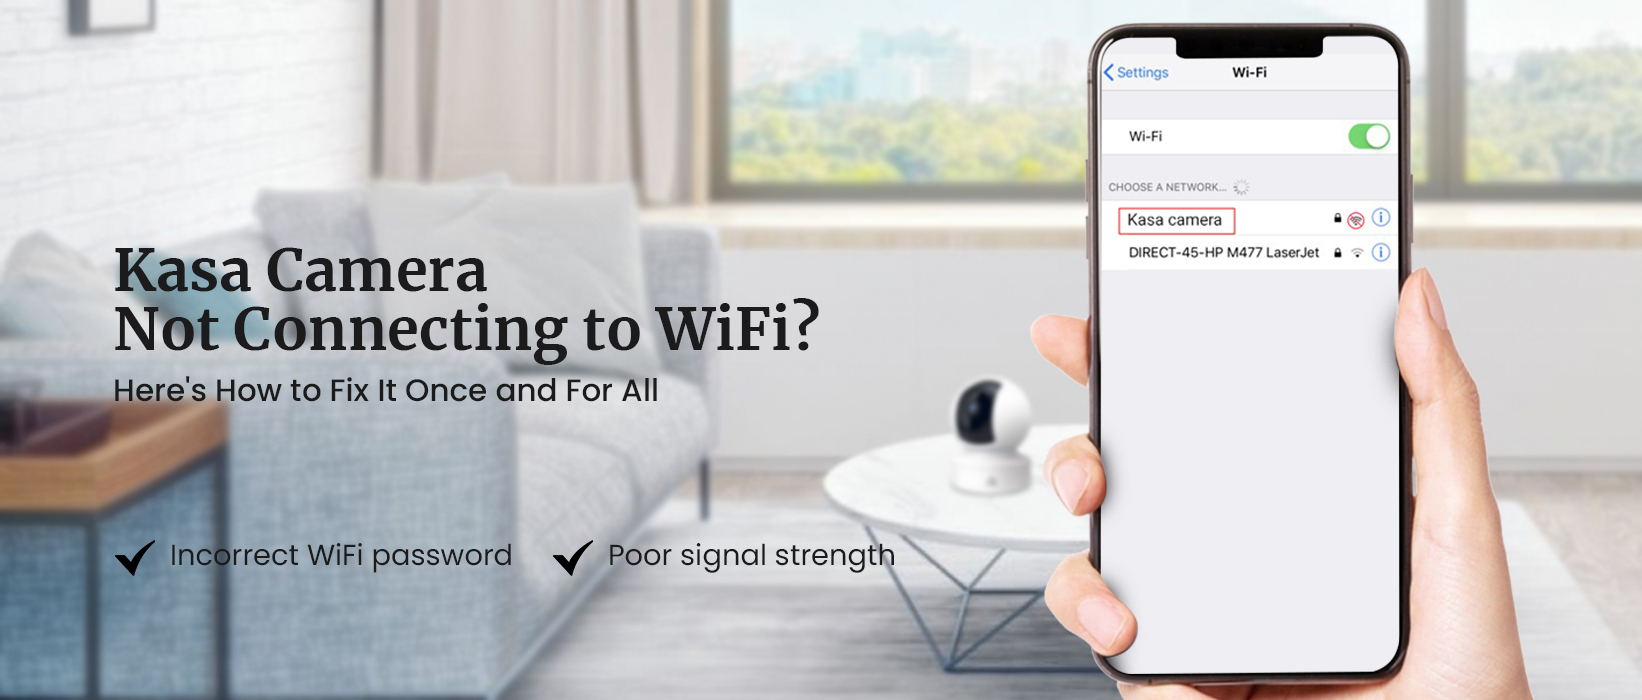
Now, the app will scan for all the available networks.
You can select your WiFi network from the list.
After that, ensure to enter the correct WiFi password to connect successfully.
Wait for the camera to connect the camera to the WiFi.
At last, you can configure the camera’s settings accordingly.
Now you know how to connect a Kasa camera to WiFi. When the connection is successful, you must modify the router’s settings accurately.
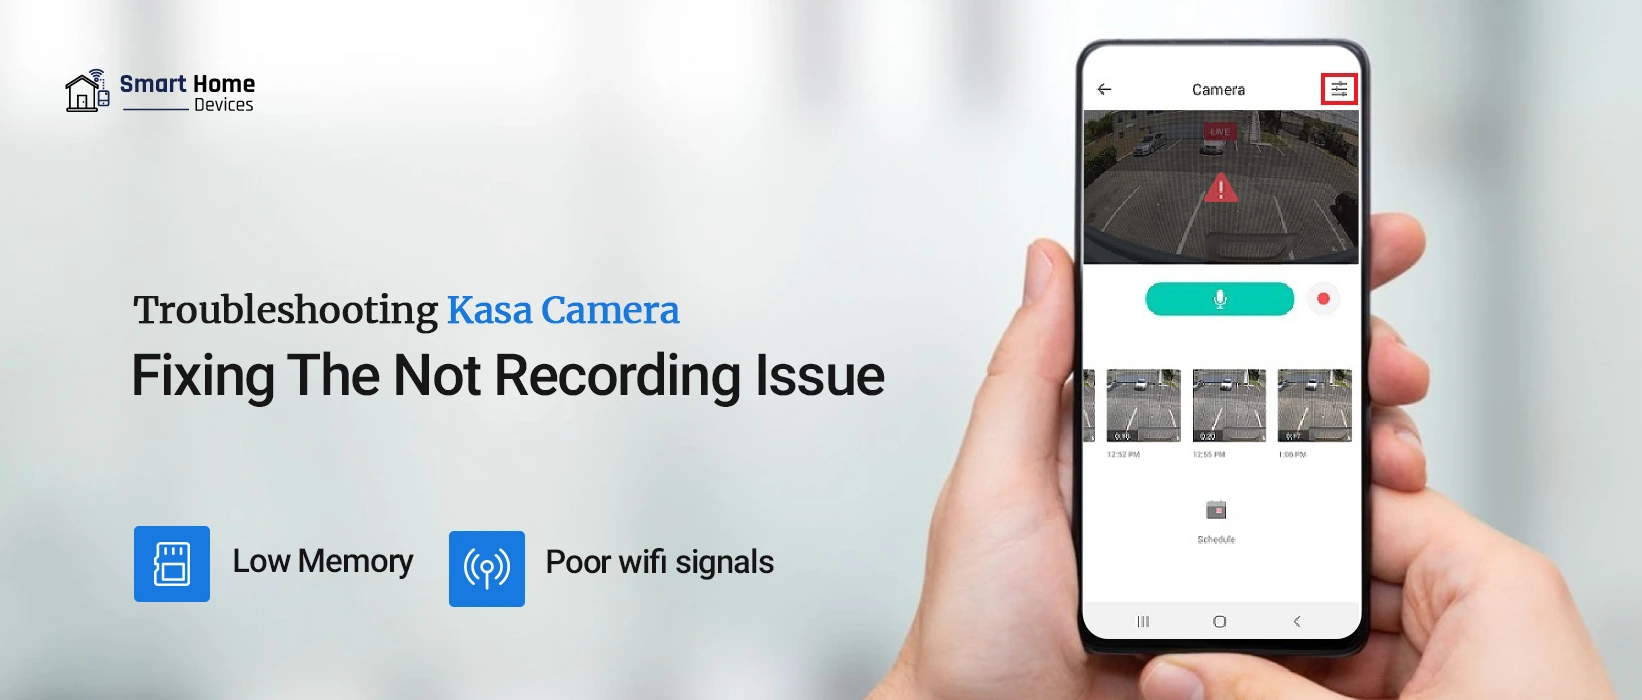
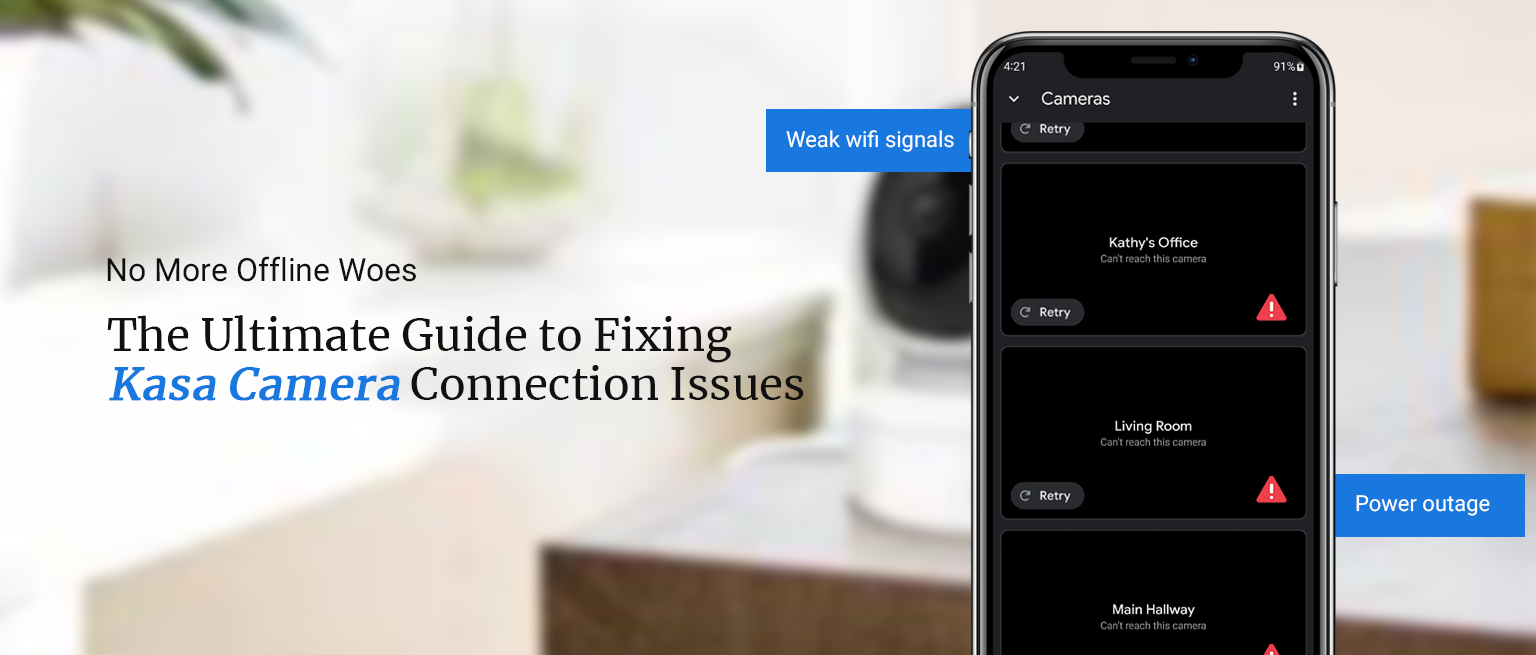
Troubleshooting the Kasa Camera Not Connecting to WiFi
You must eliminate the causes responsible for the camera not connecting to the WiFi. As the camera cannot operate without a stable WiFi connection. To fix the issues with the camera, you can use the below troubleshooting techniques:
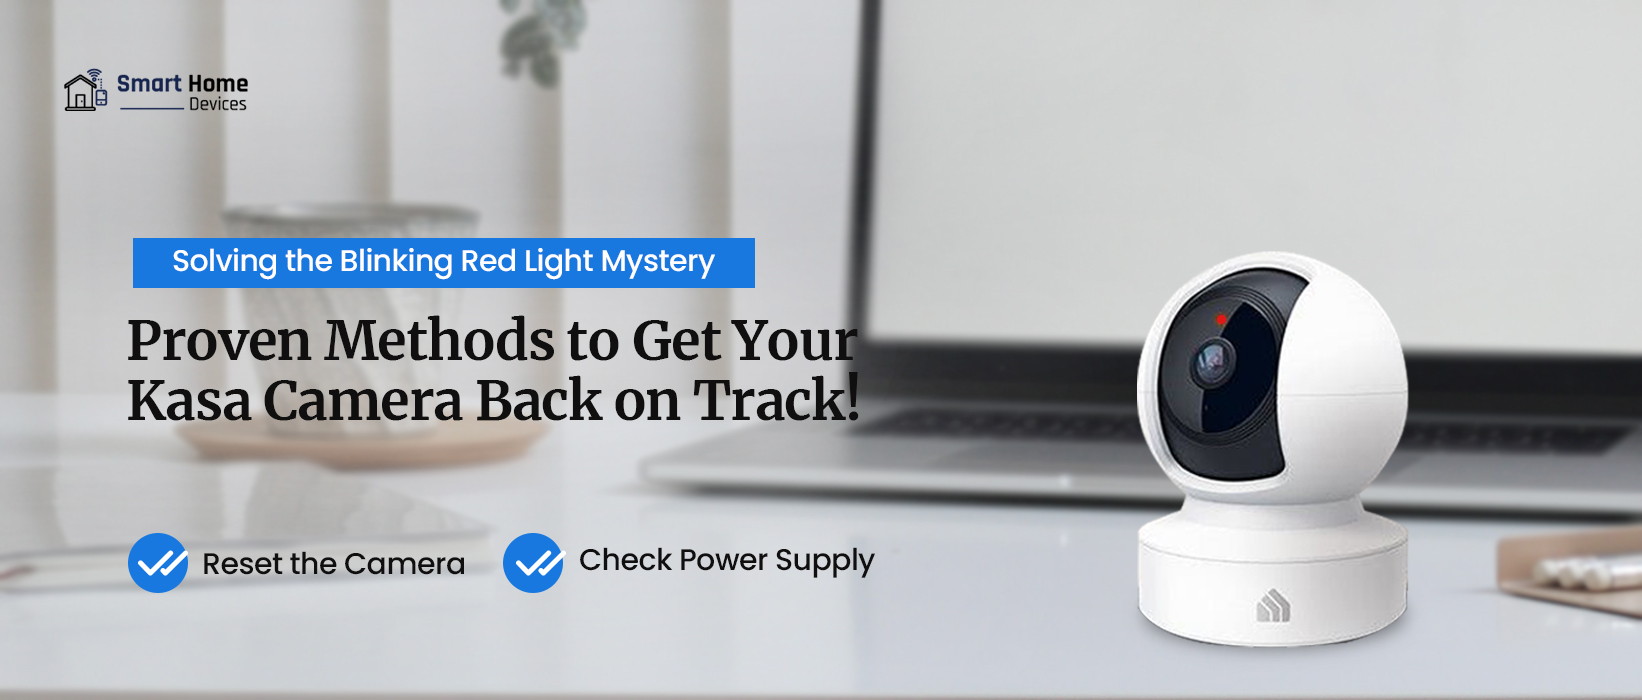
Inspect the Power Source
The camera requires a stable power source to function effectively.
Without a proper power source, the camera will not work at all.
Thus, you must plug the camera into a stable power source.
Check the current outlet the camera is plugged into and ensure it’s working.
If not, you must plug the camera into another power socket.
Check Your WiFi Source
There could be an issue with the router as well causing this issue.
Inspect your router and ensure it’s working, otherwise, you must fix it.
You can try rebooting, updating the firmware, and resetting the camera.
This should fix the issue with the router and you can try reconnecting the camera.
Power Cycle the Camera
You can also try power cycling the camera to fix any internal issues.
The power cycle fixes any minor glitches and bugs with the camera.
All you need to do is power off and unplug the camera from the power source.
Wait for some time and let the camera cool down.
After a few minutes, you can power the camera back on.
This should fix the camera not connecting to the camera.
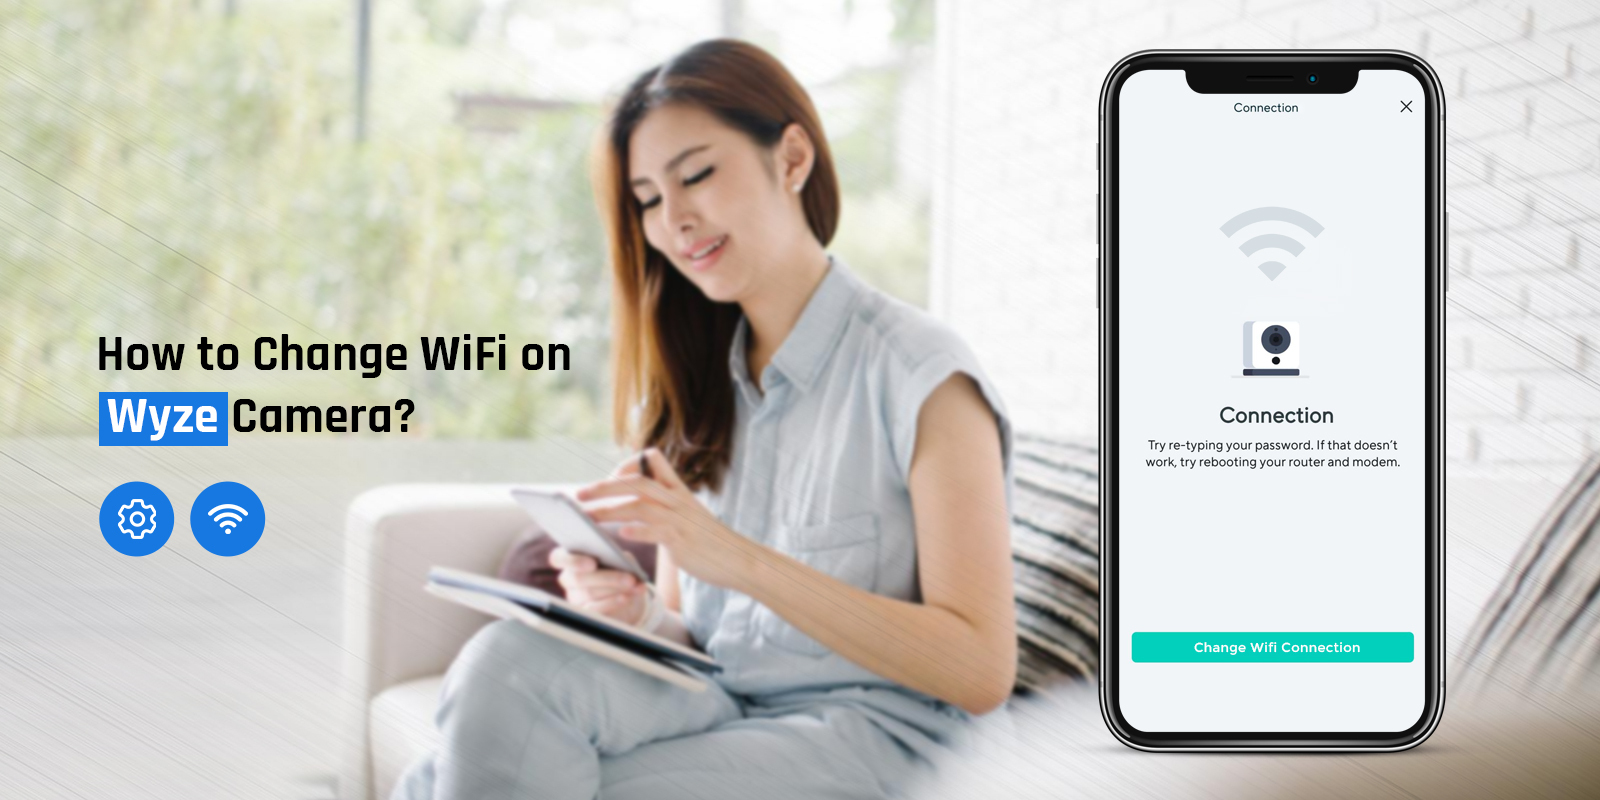
Use the Correct Password
While connecting the camera to the router, you must use the correct WiFi password.
Without an incorrect password, you cannot connect the camera to the WiFi.
If you have recently changed the WiFi password, it could be causing issues as well.
In this case, you must reconnect the camera to the WiFi using the new password.
Now that you know how to connect Kasa camera to WiFi, you can do so easily.
Move the Camera Closer to the Router
The distance between the router and the camera can also cause connectivity issues.
When the router is too far from the camera, it will have trouble detecting its network.
Thus, you must place the camera close to the router for a seamless connection.
You can also move the router closer to the camera to form a connection.
This should fix the issues with the camera not connecting to the WiFi.
Reset the Kasa Camera
If none of these methods are working, you must reset the Kasa camera.
To reset the camera, you can use the Sync button.
Now, press the Sync button and hold it.
After 15 seconds, you can release the button.
All the factory default settings are back.
Now, you must set up the Kasa camera from scratch.
These are the methods you can use to fix the Kasa camera not connecting to the WiFi issue. We hope you understood how to connect Kasa Camera to WiFi. You should be able to connect the camera to the WiFi now. If there are any other issues you are having with your Kasa camera, you can get in touch with our team right now.