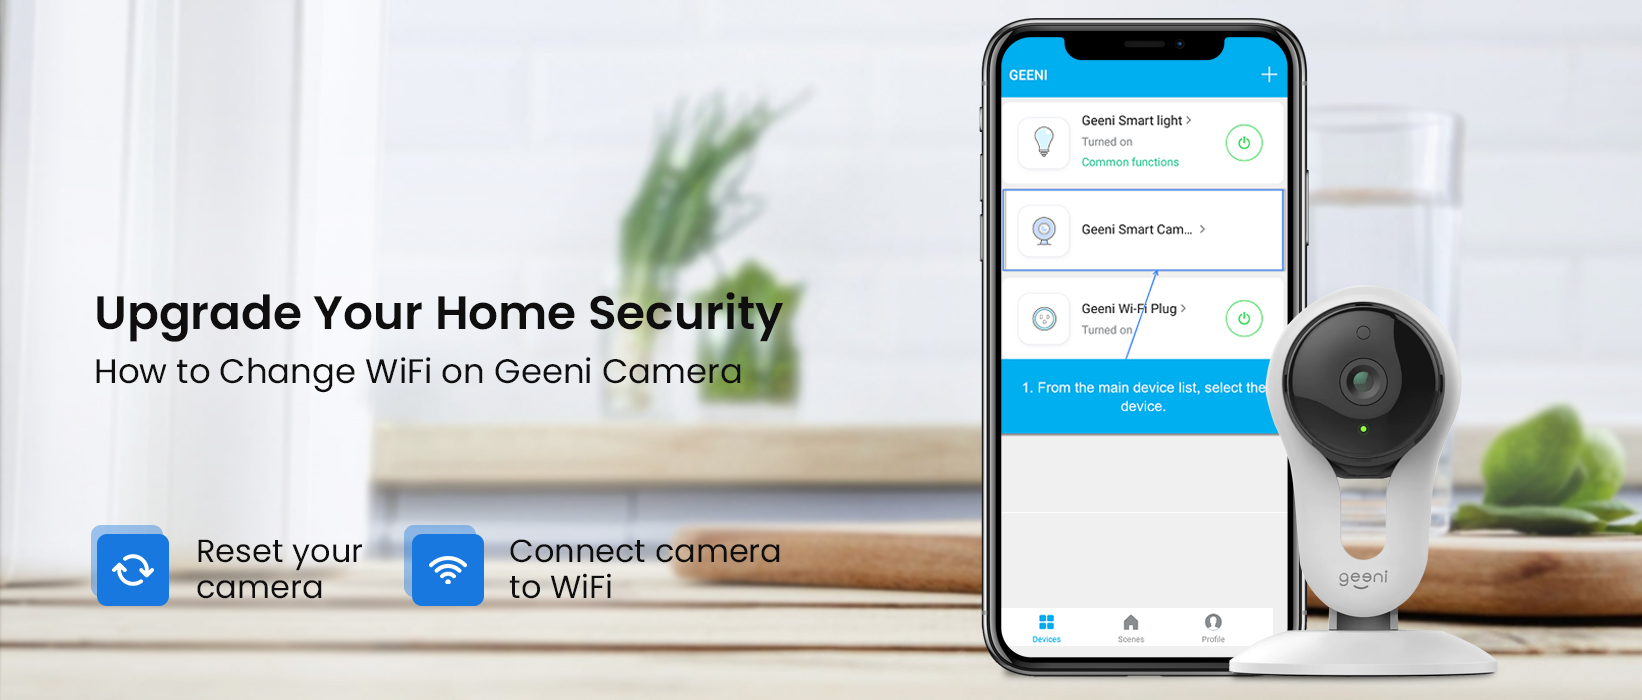
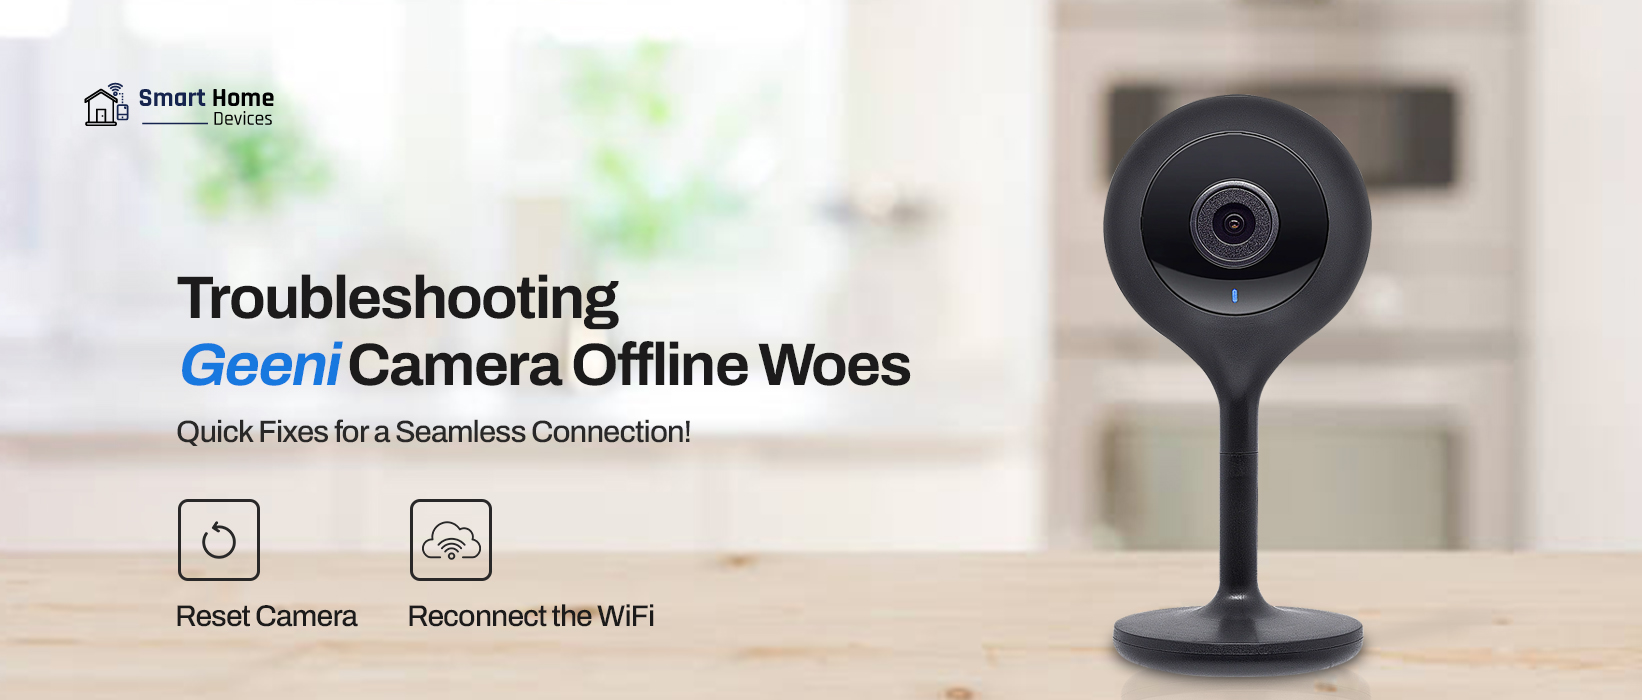
A Geeni camera’s WiFi setting can be changed easily and quickly in just a few steps. It’s crucial to understand How to Change WiFi on Geeni Camera whether you are setting it up for the first time or moving it to a new location. By doing this, you can be sure that your gadget is constantly connected and working properly.
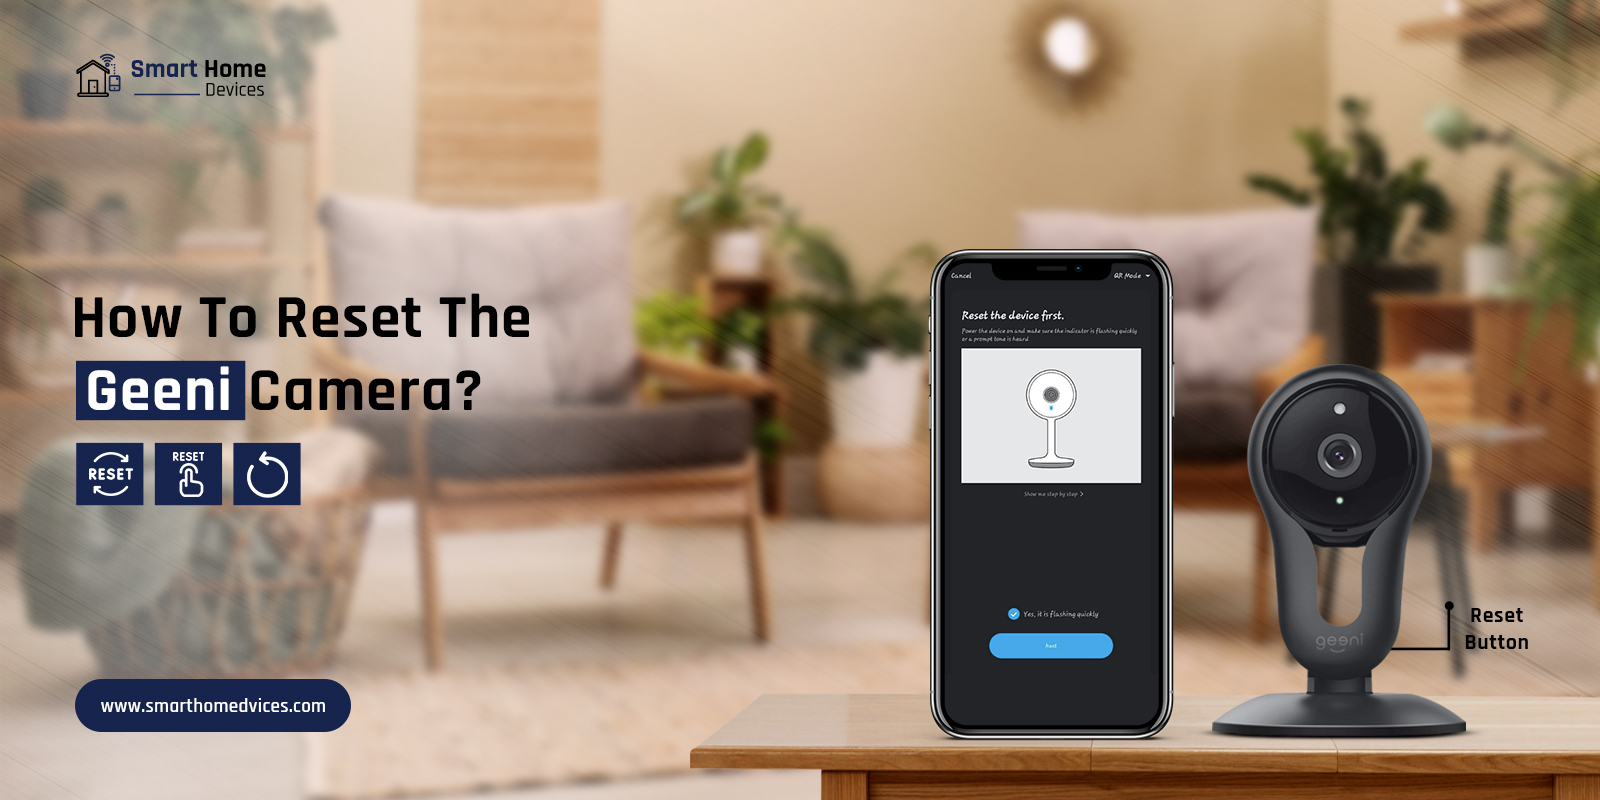
You must restore your Geeni camera to its factory default settings before connecting it to your new WiFi network in order to modify the WiFi. You can accomplish this by utilising the Geeni app on your smartphone, which is accessible on both iOS and Android phones.
Steps to Change Wi-Fi on Geeni Camera
If you want to change WiFi on Geeni camera, kindly follow the steps below:
STEP 1: Prepare your Geeni camera
Make sure your Geeni camera is fully charged and plugged into a power source before beginning the procedure of changing the WiFi. Next, get the Geeni app from the Google Play Store or the App Store and install it on your smartphone. Before connecting your Geeni camera to a WiFi network, make sure you are connected to it.
STEP 2: Reset your camera
This is the important step when you change WiFi on Geeni camera. You must restore your Geeni camera to factory settings in order to change the WiFi. Press and hold the reset button on the Geeni camera’s back for at least five seconds to reset it. When the LED light on the front of the gadget turns red, the camera has been reset.
STEP 3: Connect the Geeni camera to WiFi
To add a new device, open the Geeni app on your smartphone and tap the “+” symbol. To connect the device to your WiFi network, choose the “Geeni Camera” from the list of available devices and follow the on-screen directions.
The WiFi network name (SSID) and password must be entered. If you want to connect your Geeni camera to a WiFi network, make sure you enter the necessary credentials.
Your Geeni camera should immediately connect to the WiFi network once you have input the proper credentials. When the camera successfully joins the network, you will be informed.
STEP 4: Camera Testing
This is the last step to change WiFi on Geeni camera. Test your Geeni camera to make sure it is operating properly after you have connected it to the new WiFi network. You can accomplish this by opening the Geeni app on your smartphone and viewing the camera’s live video stream.
The Geeni app must be used to reset the device and connect it to a new WiFi network in order to change the WiFi on your Geeni camera. You should have your camera operational in no time if you properly follow these instructions.
Conclusion
This post was all about how to change WiFi on Geeni camera in easy steps. We discussed the whole procedure in a step-by-step format to enable easy understanding for all the users. We hope that this Geenie camera WiFi change guide was helpful to you and that it helped you with the process.
If you come across any issues or queries, kindly feel free to reach out to our support team for more help.